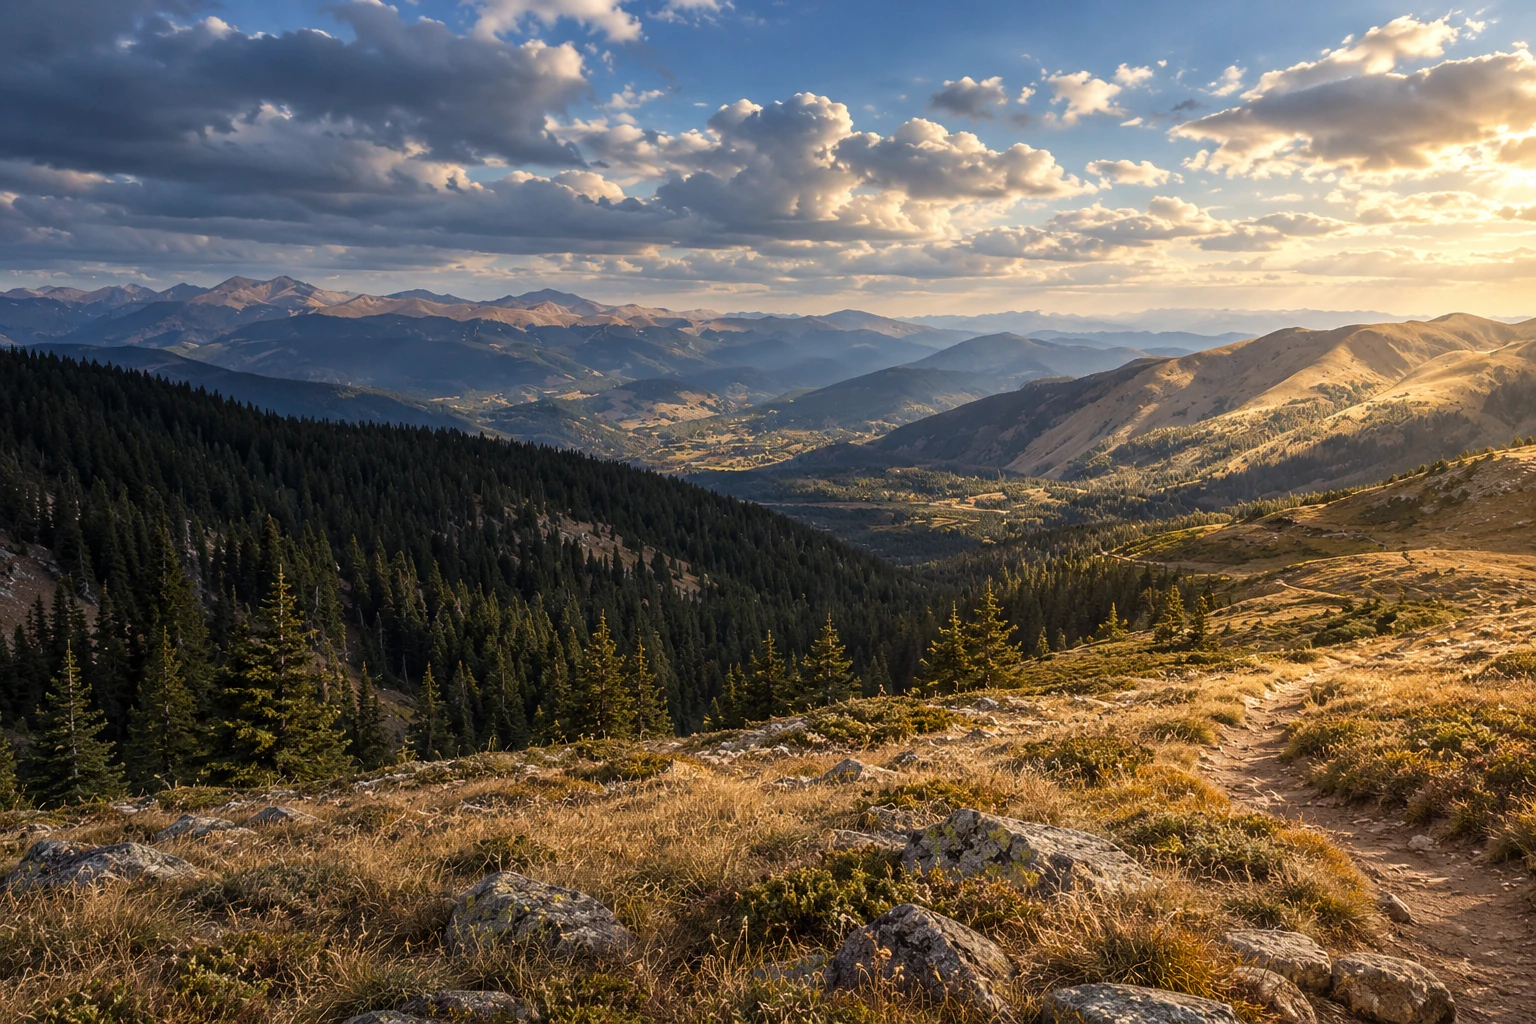
Incline is not altitude.
You can train climbs all year on stairs, hills, and treadmills, then still feel humbled when the air gets thinner, your appetite drops, your sleep gets weird, and your normal pace starts costing more than expected.
That is the failure mode most elevation plans miss. You can train the climbing demand, but you have to plan for acclimation. Fitness helps. It does not make you immune to altitude.
This is Demand 3 in The 5 Physical Demands of Hiking. It is not a full plan. It is a way to understand what you can train, what you need to plan for, and how to tell whether elevation is a blind spot in your hiking prep.
Table of Contents
- Elevation Training: What Matters Most
- When You Train the Climb but Underestimate the Air
- Why Fitness Alone Cannot Solve Acclimation
- How to Train the Climb and Plan for Altitude
- Is Elevation a Blind Spot in Your Hiking Plan?
- Why Elevation Makes Every Other Trail Demand More Expensive
- Choose Your Next Step
- Train the Climb. Plan for the Air.
- Sources
Elevation Training: What Matters Most
- Elevation training for hiking is not just stairs, hills, or cardio. It is aerobic preparation plus acclimation planning.
- Fitness helps you climb. Acclimation helps you stay functional when oxygen availability drops.
- Living at sea level does not doom you. It just means your plan needs more margin.
- Training masks are not a replacement for altitude exposure.
- If symptoms escalate at elevation, the answer is not grit. It is backing off, reassessing, and descending when needed.
When You Train the Climb but Underestimate the Air
The failure mode is simple:
You train the climb, then underestimate the altitude.
On paper, elevation training looks like “more cardio.” On trail, it is messier.
Your pace slows even though your legs are fine. Your breathing feels louder. Your appetite drops. A headache shows up and you blame caffeine. Your mood gets weird. The same effort that felt normal at lower elevation suddenly feels expensive.
That is not always a sign that you are out of shape. Sometimes it is the oxygen reality of higher elevation, especially when it stacks with heat, dehydration, under-fueling, sleep disruption, and pack weight.
High altitude exposure creates problems mainly because of hypoxia, or reduced oxygen availability. The CDC Yellow Book notes that around 10,000 feet, inspired oxygen pressure is substantially lower than at sea level, which can reduce arterial oxygen saturation during acute exposure. [1]
That matters because a thru-hike or multi-day mountain trip does not give you a clean lab condition. You are not just “at altitude.” You are at altitude while walking for hours, carrying weight, managing weather, sleeping imperfectly, and trying to make useful decisions.
On the Colorado Trail, I almost passed out somewhere between Long Gulch and Kenosha Pass. Not dramatically. Just the boring dangerous version: hot, dry, under-fueled, under-salted, and mentally dull. When I found trail angel support at Kenosha Campground, I stopped for food, water, electrolytes, shade, foot care, and a reset. That stop probably saved the day.
The lesson was not “altitude bad.” The lesson was cleaner than that:
Elevation makes your mistakes louder.
Why Fitness Alone Cannot Solve Acclimation
Most hiking plans are built around what is easy to measure:
- miles
- pace
- heart rate
- stair sessions
- incline treadmill time
- weekly elevation gain
Useful, yes. Complete, no.
Those variables can build fitness. They do not automatically solve acclimation.
Gym Training Builds the Climb, Not the Acclimation
The gym can help you build the engine. It can strengthen your legs, improve your uphill mechanics, and give you repeatable climbing work when you do not have access to mountains.
But a stair mill does not lower oxygen availability. An incline treadmill does not teach your body what it feels like to sleep high. A heavy step-up session does not equal acclimatization.
That does not make gym training useless. It means you need to know what it is for.
Gym work trains the climb. It does not replace the altitude plan.
Cardio Fitness Does Not Cancel the Symptom Stack
Cardio plans often assume the main question is whether you can keep moving.
At elevation, the better question is whether you can keep moving while symptoms, appetite changes, poor sleep, dehydration, and pace mistakes start stacking.
Acute mountain sickness symptoms commonly include headache, nausea, dizziness, fatigue, and sleep disturbance. Wilderness Medical Society guidelines emphasize prevention through gradual ascent and appropriate treatment decisions, including descent when symptoms are worsening or severe. [2]
That is not a character test. It is physiology.
Mileage Goals Can Reward the Wrong Decision
A mileage plan can accidentally pressure you into bad decisions.
You planned 18 miles. The terrain says 12 would be smarter. Your ego says keep going. Your symptoms say slow down. Your itinerary says there is a campsite farther ahead.
This is where elevation gets hikers in trouble. The danger is not only the altitude. It is the refusal to adjust when the signal changes.
If your plan only works when your body behaves exactly as expected, it is not a plan. It is a spreadsheet with delusions of grandeur.
How to Train the Climb and Plan for Altitude
You are training one thing and planning for another.
Train:
- aerobic base
- uphill economy
- breathing control
- loaded climbing mechanics
- pacing discipline
Plan for:
- sleeping elevation
- rate of ascent
- symptom monitoring
- hydration and fueling
- rest or adjustment days
- descent if symptoms escalate
1. Build the aerobic engine
Elevation makes inefficiency more expensive.
You want enough aerobic capacity that normal hiking does not constantly push you toward your ceiling. That usually means consistent easy aerobic work, some targeted intensity if your timeline supports it, and plenty of hiking-specific time on feet.
This is the boring foundation. Conveniently, boring foundations are where most people quietly get better.
2. Train uphill mechanics
If you do not live near mountains, you can still train the climbing demand.
Use the closest available substitutes:
- Incline treadmill hiking: best controlled option for sustained uphill mechanics
- Step-ups: high-transfer strength work when done cleanly
- Split squats or lunges: single-leg control for uphill movement
- Stair mill or stairs: useful for repetitive stepping, but easy to misuse
- Sled push: steady leg drive without pounding, if you have access
- Calf and tibialis work: boring insurance for ankle durability and toe clearance
- Loaded carries: trunk and hip stability under pack-like demand
The goal is not to destroy yourself. The goal is to make uphill work feel less expensive.
3. Add load gradually
Pack weight changes the climb. It changes breathing, posture, foot placement, heat load, and recovery cost.
If you are training for a mountain route, include progressive load. Start lighter than your target pack weight. Build gradually. Keep movement clean.
Do not turn every incline session into a punishment ritual. If your form turns into interpretive dance, the weight is not “making you tougher.” It is making you sloppy.
4. Plan the first days at elevation
The real cheat code is not complicated.
Arrive early if you can. Sleep lower when possible. Keep early effort controlled. Eat and hydrate before you feel behind. Avoid stacking your biggest mileage, biggest climb, heaviest pack, and highest sleeping elevation all at once.
The CDC advises travelers above 8,000 feet to avoid alcohol and heavy exercise for at least the first 48 hours after arrival, and notes that spending time above 9,000 feet before a longer high-elevation trip can help reduce risk. [3]
That is annoying if you want to rush. It is also useful.
Acclimation is not glamorous. It works anyway.
Altitude Training Rules That Actually Matter
Do this:
- Train your aerobic base before you need it
- Use incline hiking or stairs as climbing tools, not altitude replacements
- Build pack weight gradually
- Plan conservative early days if you are coming from low elevation
- Watch appetite, headache, sleep, mood, and pace as real signals
Avoid this:
- Assuming fitness makes you immune to altitude illness
- Using stairs as proof you are acclimated
- Adding huge climbs and huge mileage immediately after arrival
- Ignoring escalating symptoms because your itinerary says keep going
- Trusting training masks as a shortcut
On training masks: one study on an elevation training mask found that it did not simulate altitude and did not stimulate changes in hemoglobin or hematocrit. It appeared to function more like a respiratory training device than an altitude substitute. [4] That is not useless for every athlete in every context, but it is not magic mountain air in a face cage.
How to Adjust as Sleeping Elevation Rises
| If your sleeping elevation is… | Treat acclimation like… | What you do next |
|---|---|---|
| Under ~8,000 ft | Nice, but usually tolerable | Hydrate, fuel, sleep. Keep pace controlled. |
| 8,000 to 10,000 ft | You might feel it | Add margin. Don’t stack huge climbs + huge miles on Day 1. |
| 10,000 to 11,000 ft | This is where errors get louder | Build in flexibility. Watch appetite, headache, sleep, mood. |
| Around 11,000 ft and up | Common threshold for “oh, this is real” | Slow the ascent. Prioritize sleep elevation strategy. Consider a rest/adjustment day. |
| Symptoms escalating | Not “mental weakness,” not “grit time” | Stop ascending. If symptoms don’t improve, descend. |
If you are planning something like the Colorado Trail, the JMT, the CDT, or trekking in the Himalayan Mountains of North India, this table is not decoration. It is a reality filter.
For self-led planning, use the Thru-Hike Itinerary Template to map sleeping elevation, high-mileage days, resupply pressure, and adjustment points before you are tired enough to make bad math feel reasonable.
Is Elevation a Blind Spot in Your Hiking Plan?
Answer this like someone who wants to finish the hike, not win the comment section.
- Are you coming from low elevation into a trail that sleeps above 8,000 to 10,000 feet?
- Does your plan stack big mileage, big climbs, and high sleeping elevation in the first few days?
- Do you know where you can slow down, rest, or descend if symptoms escalate?
- Do you have a fueling and hydration strategy for when your appetite drops?
- Can you train uphill mechanics consistently before the trip, even without mountains?
- Have you tested pack weight on climbs, stairs, or incline work?
- Do you know your early warning signs: headache, nausea, dizziness, poor sleep, mood shift, weird fatigue?
- Are you relying on fitness to solve something that actually requires acclimation?
- Would you be willing to change the plan if your body gives you a clear red flag?
If several of these hit, that is useful information. It does not mean you cannot hike at elevation. It means your plan needs more structure and more margin.
Why Elevation Makes Every Other Trail Demand More Expensive
Elevation is survivable alone. A hard climb is survivable. A rough night of sleep is survivable. A lower appetite day is survivable.
Stacked with pack weight, downhill braking, uneven terrain, heat, weather, and poor pacing, elevation gets expensive fast.
That is why this sits inside the larger hiking system. You are not training “altitude” in isolation. You are training the engine, planning the acclimation window, managing fatigue, and making sure the next demand does not bury you.
If you have not read the full framework, start with The 5 Physical Demands of Hiking.
Next in the series: Pack Weight & Ruck Training. Elevation changes the air. Pack weight changes the whole equation.
Choose Your Next Step
Map Your Acclimation Window
Use the Thru-Hike Itinerary Template to map your route, sleeping elevation, high-mileage days, resupply points, and adjustment options before fatigue starts making decisions for you.
Get a Personalized Elevation Strategy
If you want someone to look at your timeline, current fitness, trail elevation, gear, and training access, start with a hiking consultation.
That can include training structure, elevation strategy, pack progression, gear audit work, shakedown planning, and a more realistic first-week plan.
Build the Complete Training System
This series gives you the map. It shows you what hiking actually demands from your body and why most generic workout plans miss the mark.
The harder part is turning that knowledge into a weekly structure that fits your timeline, your current fitness, your terrain access, your pack weight, and the hike you are actually preparing for.
That is what the Complete Hiking Elevation Training System is built to do.
Train the Climb. Plan for the Air.
Elevation training for hiking is not about pretending your stair machine is a mountain.
It is about building an engine that holds steady under load, training uphill mechanics as specifically as your environment allows, and giving yourself enough time to acclimate so Week 1 does not become troubleshooting your body like a broken headlamp.
If this feels manageable, you may be able to self-run the basics: build the engine, train climbs, arrive early, pace conservatively, and watch your symptoms honestly.
If this feels overwhelming, that is also useful information. It usually means you are missing structure, time, or both.
Up Next: Pack Weight Changes the Whole Equation
Elevation is only one demand. Add pack weight, and the entire game changes: breathing, posture, foot placement, fatigue, and recovery all get more expensive.
Next up: Pack Weight & Ruck Training.
Sources
- CDC Yellow Book. High-Altitude Travel and Altitude Illness.
- Luks AM, et al. Wilderness Medical Society Clinical Practice Guidelines for the Prevention and Treatment of Acute Altitude Illness: 2024 Update.
- CDC Travelers’ Health. Travel to High Altitudes.
- Porcari JP, et al. Effect of Wearing the Elevation Training Mask on Aerobic Capacity, Lung Function, and Hematological Variables.
| If your sleeping elevation is… | Treat acclimation like… | What you do next |
|---|---|---|
| Under ~8,000 ft | Nice, but usually tolerable | Hydrate, fuel, sleep. Keep pace controlled. |
| 8,000 to 10,000 ft | You might feel it | Add margin. Don’t stack huge climbs + huge miles on Day 1. |
| 10,000 to 11,000 ft | This is where errors get louder | Build in flexibility. Watch appetite, headache, sleep, mood. |
| Around 11,000 ft and up | Common threshold for “oh, this is real” | Slow the ascent. Prioritize sleep elevation strategy. Consider a rest/adjustment day. |
| Symptoms escalating | Not “mental weakness,” not “grit time” | Stop ascending. If symptoms don’t improve, descend. |


